Thursday, November 21, 2013

Round Table-November


This month for Round Table, I decided that since I was teaching for December I would show a few fun things the boys could do that would pass off a few achievements and electives.


The first thing I taught was my Santa Advent Calendar, this is something that I have made for the last 2 or 3 years and they love it.


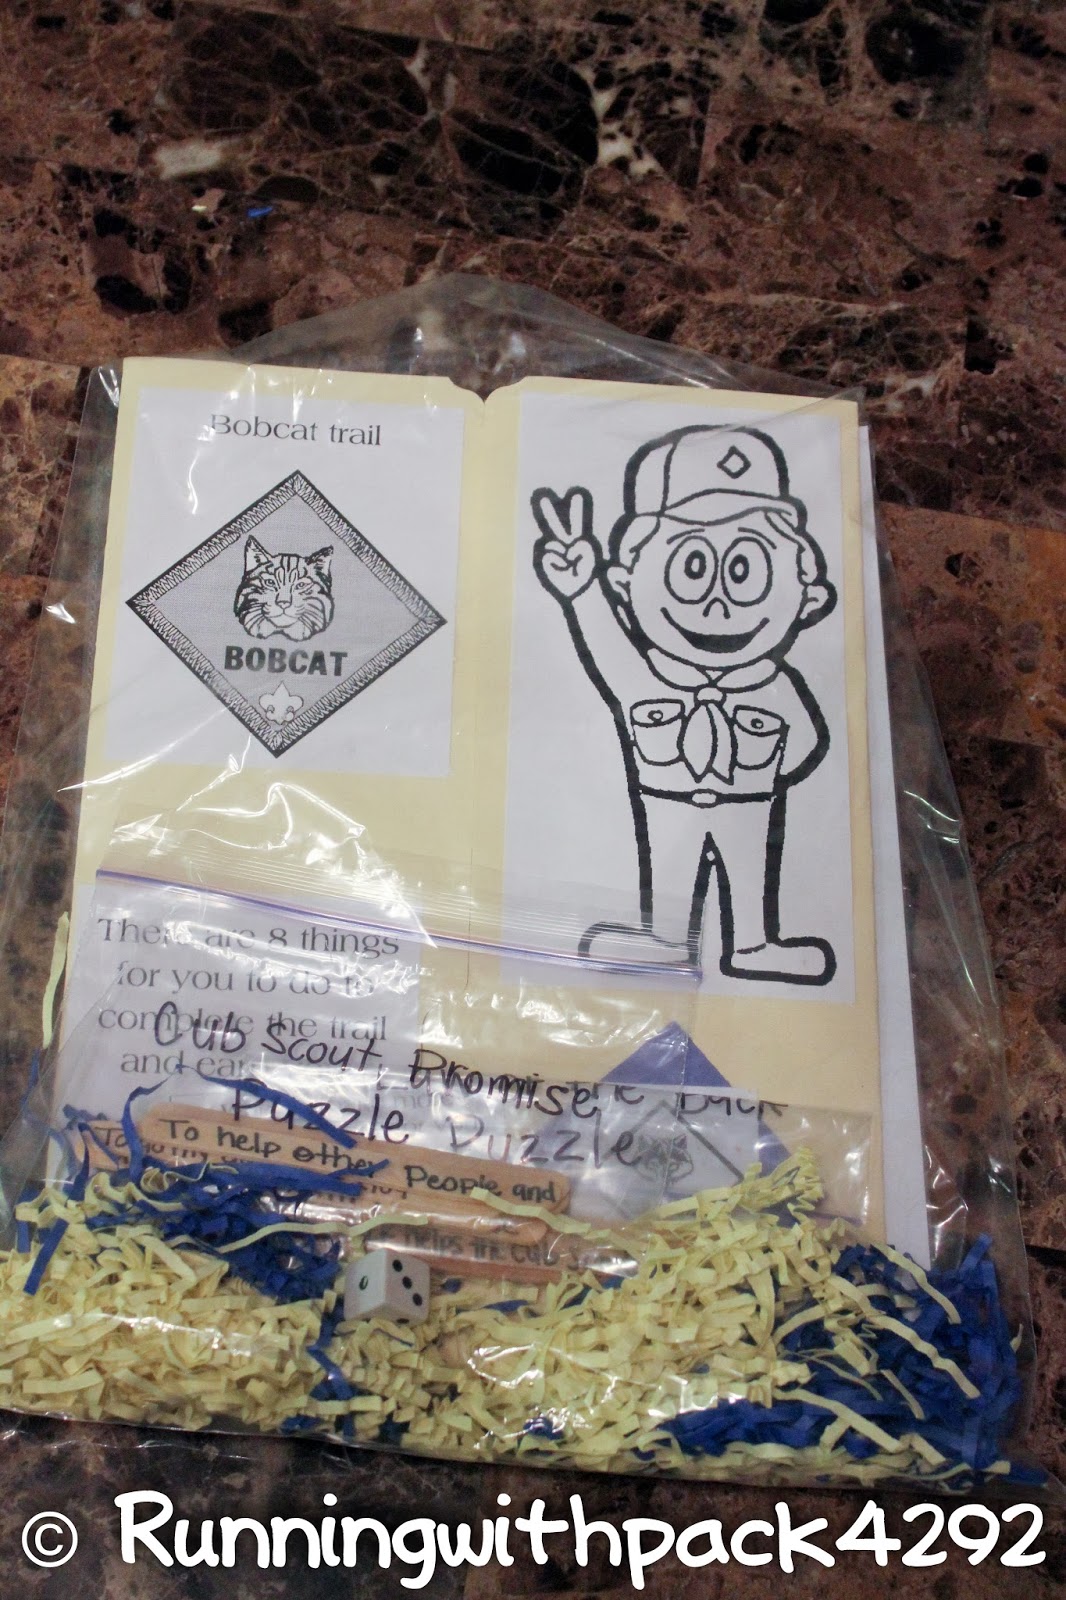
This will pass off  Wolf A5d, 5e and Bear A20a, 10b

Here is what you will need for each one.
  • 2x4
  • 24 nails
  • Wrapped lifesavers(24 for each boy)
  • Paint-red, flesh color
  • Googly eyes
  • Medium-large red pom-pom
  • Batting
  • hot glue gun
1.Cut each 2 x 4 to 36"  now you need to cut an angle on either side of one end to form the "hat" (each side of the hat measures just over 3 1/2").

2.Have the boys sand the board then using a pencil  mark off the area they will paint flesh color ( I just free handed it)

3.Paint the rest of the board red. Once that dries have them paint the face using the flesh color. 

4.While you are waiting for the board to dry start cutting your beard, mustache, pom-pom, and brim out of batting. I just cut a shape that I thought resembled the beard and mustache and a circle for the pom-pom on top of the hat.  If you want you can use these kits HERE to make the face.

5. Glue your face on. I start with the pompom, the the band, then move on from there, but however you want to do it will work. 

6. From the bottom of the board measure up 1 inch and put a dot in the center, this will be your first nail hole. Now move up your board in 1 inch increments until you have made 24 marks.

7. Have each boy start hammering in his nails. Remember to pass of A5d they need to demonstrate how to use a hammer and take out a nail, so I have them pound in their first nail and then take it out. Then they can hammer all the nails into the board. 

8. now poke individually wrapped lifesavers on each nail.(I poke mine on just puncturing the back plastic not all the way through). 

Send them home with the boys and let them enjoy. 


***ANY OF THE FOLLOWING PROJECTS WILL PASS OFF WOLF E9b, 9c


This is our snowman ice melt container that I have the boys make then take to a neighbor or elderly person in the neighborhood. I fill a gallon sized zip lock with the ice melt and then put it into the can, this way it is less messy as the boys take them home.  

Here is what you will need to make one-
  • #10 can
  • White Spray paint(optional)
  • Felt-orange(nose), black(mouth)
  • Large googly eyes
  • Fleece for hat- I would suggest you cut your felt before hand so it is straight (I don't have a measurement for this I just guessed)
  • Gallon size ziplock bags
  • ice melt


These are cute and so simple for the boys to do. 

Snowman popcorn wrapper-
  • http://www.whimsiedoodles.com/freebies.html  (scroll down towards the bottom of the page it will be on the right hand side) this link will let you download the black and white version. I used photoshop to fill it in with color.
  • Microwave popcorn
  • Fleece for hats or you can use a pair of gloves
  • Ribbon (to tie hats/gloves)

 This is something we have not done in the past and will be doing it for the first time this year...Cookies in a Jar.

Here is what you will need if you are making these
  • Mason jar - quart or pint sized
  • Fabric to cover lid 6x6 inch piece for each jar
  • 18 inch piece of ribbon for each jar
  • Printable labels 

I originally found the recipe and a printable tag HERE. The recipe is for a quart sized jar and I only had pint size jar so I cut the recipe in half and put it in a pint sized jar.

Here is the recipe for the quart sized jar
    • 1 1/3 cup all purpose flour
      1 teaspoon baking powder
      1 teaspoon baking soda
      1/4 teaspoon salt
      1 cup quick oats
      1/2 cup m&ms (I used the Red & Green Christmas ones)
      2/3 cup milk chocolate chips
      1/2 cup brown sugar, packed
      1/2 cup white sugar
Here is the recipe for a pint sized jar
    • 2/3 Cup Flour
    • 1/2 tsp. baking powder
    • 1/2 tsp. baking soda
    • 1/8 tsp. salt
    • 1/2 cup oats
    • 1/2 cup m&m's
    • 1/2 cup chocolate chips
    • 1/4 cup brown sugar
    • 1/4 cup white sugar
Layer the ingredients in the following order:
          First: flour, baking powder, baking soda and salt
  • Second: oats
    Third: m&ms
    Fourth: chocolate chips
    Fifth: brown sugar
    Sixth: white sugar

I also decided to make my own tags, there are 6 different tags and they are sized differently for the two jars. There are 2 inch quart and 2 inch pint and 3 inch quart.  You can glue the front and back together like I did or your can put them on the front and back of the jar. 
 If you are interested in the printable, leave me a comment with your email address or email me. These are for personal use only and may not be sold.


Here is another quick and easy gift idea. Snowman ornament, how cute are these? I LOVE all things snowman. The boys could make one for themselves and one to give away. 


Here is what you will need-

  • Clear glass/plastic ornament
  • Marshmallows, cotton balls, or white pom-poms
  • Black and orange vinyl or paper ( you will need glue to glue the paper on)
  • Hole punch (to punch out the eyes and mouth pieces)
  • Ribbon(for hanger)

And finally I made these travel size tissue wrappers and will put a tag on the back that says "We "tissue" a Merry Christmas and a healthy New Year"  


After making them I decided it would be much faster to design a printable so I did just that. For the snowman I altered THIS free candy bar wrapper printable to work with the tissues. I designed the Santa suit. One with just the front red (to save on ink) the other that is all red.

 I found my tissues in a 6 pack from the dollar store (they are princesses and toy story), so I used those as my template so make sure your packs of tissue are 4 inches tall.


Snowman (if making them out of paper)
·         Base-4”x7” white card stock
·         Carrot shape nose(orange scrap of paper)
·         Scarf-1/4”x7 (color of choice)
·         Scarf “tie” ½”x 3 ½” (color of choice) fold on an angle and fringe ends.
·         Hat-fleece piece 6 ½”x 4” fold up 1/2” wrap around tissue package glue along back tie top with ribbon and fringe.
·         Small piece of ribbon to tie hat.
Snowman (if not making them out of paper)
·         Printable
·         Cutter
·         Same measurements for fleece hat as above.
Santa Suit-(if making them out of paper, if not making them out of paper you just need the printable)
·         Base-4”x 7” red card stock
·         1”x 4” piece of white card stock
·         Belt-1/2”x 6 ½” piece of black card stock

·         Belt buckle- 1”x 1” piece of gold, silver, or gray cardstock. Cut slit ¼” from either side, long enough for black ½” strip to fit in.


Don't forget about Cynthia's candy train she shared I can not get the picture to upload correctly so HERE is a link to a similar one


Tuesday, November 19, 2013

Uniform Hanger


I saw a Cub Scout uniform hanger HERE and new I wanted to make them for my Cub Scouts for Christmas this year. I changed a few things from their tutorial so here is what I did

You will need: 
  • 2 blue felt squares (9x12) If you are using felt by the yard you will need one 9"x12" piece and one 9"x8" piece
  • 1 yellow felt sqaure or a piece that is 6"x4 1/2" 
  • Hanger
  • Embroidery machine(optional)
Instructions
  1. Cut a yellow piece of felt that is 6" x 4 1/2"  If you are embroidering a name on it this would be the time to do it.
  2. Leave one blue felt square uncut, and cut the other to 9"x 8". Take the smaller piece and fold over one of the 9 inch sides 1/4" and sew. This will become the top of your first pocket.
  3. Sew your yellow piece onto the front of the blue 9"x 8" piece using a zigzag stictch


 Next line up your two blue pieces and sew along the three sides.
 After you are done sewing clip your corners at an angle Turn right side out.
 At this point you can do one of two things. You can fold over the two sides (see the arrows) and sew them down which is what I did and forgot to take a picture of it. Or you can clip those same two sides right above the pocket and fold them over towards the back and sew them down.


 Now grab your hanger and fold over the top 1-1 1/2" and sew along edge. Once that is done put your foot right against the hanger and sew again.

 Here is the finished product. Hang their scout shirt on the hanger and you have everything all together. A large pocket for their book and neckerchief, and a small pocket for pins, belt loops, neckerchief slides and anything else they can manage to shove/hide in there.


Thursday, November 14, 2013

Passports to Other Lands Neckerchief Slides

This month at our council round table it was my job to do new leader awards. It seems like we always have 20 plus new leaders but do not have a huge budget. So I went fairly easy and cheap.
I made travel neckerchief slides since the supplemental theme is Passports to Other Lands. I got the clear rocks from the dollar store, then went to the  hardware store and bought a section of PVC pipe. I made 1 inch circles in photoshop using travel clipart, then used a 1 inch circle punch to punch them out. Glued them to the rocks and attached PVC pipe pieces I cut.

For less than 3.00 and about a half an hour (maybe a little bit more) I was able to make 30 neckerchief slides.

If you would like the printable, email me and I would be glad to send it to you.

Saturday, November 9, 2013

Blue and Gold Banquet Class for Pow Wow

***WARNING *** This is a super long post, but well worth your time(at least I think it is)

I had the opportunity to teach the Memorable Blue and Gold Banquet class at this years Pow Wow. I was able to teach four-50 minute classes with  25-30 people in each class.

***DISCLAIMER: The information in this post is my opinion and the ideas/tips that have worked well for me in the past. With that said, I am not saying that it is the only way or the right way to plan a blue and gold. If the things in this post do not work for you, then find something that will.


I LOVE planning parties I have planned several parties for my kids over the past many years, and in my opinion the Blue and Gold Banquet is just a big party. I have had many people ask me what the purpose of the Blue and Gold Banquet is, so here is a description taken directly from the BSA's website.

**Most Cub Scouts celebrate Scouting Anniversary Week in February with a "birthday party" called the blue and gold banquet. In nearly all packs, the blue and gold banquet is the highlight of the year. It brings families together for an evening of fun and cheer. It's often the pack meeting for February.
The purpose of the blue and gold banquet is to celebrate the pack's anniversary, thank pack leaders and other adults who have helped the pack, and inspire the leaders, Scouts, and parents. Packs often like to invite former members and other Scouting or community leaders to take part in their blue and gold banquet.
The banquet can be like a regular pack meeting, with songs, skits, stunts, and awards. Or it can be something different and a little more special. Your pack may decide to bring in an entertainer such as a magician or a storyteller. Or you could have a video or slide show of what the pack did over the past year.
A good banquet needs lots of planning. Most packs begin to plan at least two months ahead of time. (Source)


Before I share pictures, I wanted to share a few things that I shared in my class:
           
Basics
  • Planning is the key in carrying out a Memorable blue and gold- don’t wait until the last minute to start planning. My suggestion; if you haven't started planning by now I would start.
  • Pick a theme you don't have to pick a theme, but it makes it easier to plan.
  •  Make an outline/list (this is how I plan ALL of my kids' birthday parties, class parties, and our blue and gold banquets). Below is the outline that I use, if you would like the word document send me an email. 

  • Decide if you are inviting the boys and parents or boys and immediate family.
  • Recognize your leaders with a small gift or any awards they have earned. 
Decorations-
  •      Make things different heights. Use books or boxes under the table cloth to give dimension to your table.
  •      Know which type of table you are using; long tables, or round tables. Knowing this will help to determine the size of your centerpieces. Make sure they are not too big or too small. 
    •      if your centerpieces are on the smaller side add a few more objects 
    •     go bigger around not up. You want to still be able to see the people across from you at the table
    •     If you are using printables in your centerpiece make them double sided, so one side of the table is not staring at a blank piece of paper and a stick.
  • Don't buy fancy containers(unless you want to and have the budget) use containers you already have, use empty cans wrapped in paper or fabric. No. 10 cans are a great size. Check with your schools and hospitals around you to see if they will save them for you. Or use empty boxes that are spray painted or covered in paper. 
Table settings-
  • Don't be afraid to change the names of your foods to match your themes, for example if you are doing a space theme and having hamburgers and hot dogs, you could rename them space shuttles and flying saucers.
  • Add a simple label to your water bottles, or some clip art to your cups to dress them up and tie them into your theme.
  • Use simple paper place mats like THESE and add your theme with pictures. 
Activity- 
  • Make sure it is age appropriate and not too long 10-15 minutes is usually the right amount of time.
  • Consider doing a rotation. These work great and you can get more activity time while keeping the boys engaged. 
Now onto the fun part of planning a blue and gold...The pictures. I presented 5 themes in my class, but there are hundreds of themes you could do if you  need more ideas Google party ideas. 
 Pirate theme- See the cans covered in paper, so cute and so simple, The small box was covered in paper. You can also so an example of the paper place mat I mentioned, and the label on the water bottle.

The invitation was made for a birthday party for one of my kids a few years ago using a pattern from HERE. This would be something the boys could help with either cutting it out or embellishing it or both.
 The next theme is a Western theme and in my opinion is by far one of the easiest themes to work with. Notice the simple yet cute clothes pins attached to the table cloth.
here is a close up. I got this idea from a friend of mine. Who is amazing at planning/decorating for blue and gold banquets.

Think outside the box for your "plates" here I used a pie tin. And for the cup I used a mason jar (which is so popular right now) I however did not buy the expensive lids they sell.
Here is a quick way to make your own

  •  Use the plastic lids from drink cups from the gas station or fast food restaurants trace your lid (not the screw on one) from the mason jar onto the plastic lid and cut out. 
  • You will also need to trace the lid shape onto a piece of scrapbook paper. 
  • Place plastic lid and paper circle onto your mason jar, and screw on band. 
  • use an xacto knife to cut the x shape into the paper for the straw
  • add straw and enjoy

Here is the invitation I made up for this theme. I make all of my invitations in photoshop and have them printed at Costco.

 Next is a space theme.

 On the right you can see an example of using a box that was spray painted as a center piece. Also an example of adding clip art to the cup.

For the place setting I went to the local hardware store and picked up a bunch of blue and yellow paint chips, took them home and sewed them into a pocket. I then added some clip art. We placed the silverware and napkin in each pocket.


The Subway art I made using photoshop, to the left of the subway art is a Styrofoam block spray painted and then mini star foiled garland was poked in around it and then placed on a box that was spray painted.

To the left of that is an example of using containers you already have. One is a vase with a silver paper rolled up and placed inside then embellished with ribbon and more foil garland.

 Here is a close up of the invitations I made.
This is the inside.


 The next theme was a generic theme, using the blue and gold(yellow) colors and scout related things.
The Subway art I made using photoshop again, then took it and shrunk it down and used it as an invitation.

Use boxes wrapped up as presents, it is a birthday party after all.

I used cans covered in paper then found each of the rank symbols and printed 2 of each of them out (to make them double sided). I then put them on skewer sticks placed a foam block in the can, and added tissue paper to cover everything up.  When printing clip art on a larger scale search for high resolution images.

You could also use the vase with the paper inside to put your  images in.
The last theme I presented is one still a work in progress as it is the theme we are using at our Blue and Gold this February. This is what I have planned so far though. 

I am not exactly sure of what I am calling this theme, but we are having a company come with 12 animals and they do a hands on interactive show with the kids. 

I will use strips of burlap in the center of the table instead of the fabric that is there now. 

For the silver pail I printed made and printed out 4 inch squares and backed them with card stock then put them on skewers. I got moss from the dollar store to fill the bucket and spread around on the table. 

On the right- I used a glass jar and filled it with rocks(from the dollar store) and a fake plant, that I made using some long wispy thing I found also from the  dollar store.(I cut it to the length I wanted and put a rubber band around the bottom to keep it all together, I have enough of the thing to make a bunch of "fake plants") 

On the left- I filled plastic jar with plastic bugs and reptiles and added the same square I used in the bucket but about half the size. I plan on spray painting the lid either black or an army green, then gluing a plastic frog on the top.

The live animal box is a mini gable box that will double as a decoration and something fun the kids can take home. I made them using photoshop, then printed out and assembled. I plan to fill them with candy and some plastic bugs/insects/reptiles. 


Here is the invitation I made using photoshop. 


I hope this post helps you in planning your blue and gold banquet. If you have any questions or would like to use anything I have made please leave me a comment with your email address or email me. 

For personal use only, please do not sell or alter in any way. If you use please link back to my original post. Also please send all your friends here if they would like to use anything I have made. 


Friday, November 8, 2013

Gifts for Pow Wow

I was asked to come up with 15-20 gifts that could be given out in a drawing during Pow Wow, but they also had to be something that leaders could use. I thought the task sounded fun, but quickly learned that when you are also teaching a blue and gold banquet class and have a lot of planning and preparation for said class that it is not as much fun as originally thought.

Here is what I came up with.


These cups were donated by my mom's cool new work,don't worry they were new. I made 3 of these (obviously)I took their logo off and added the vinyl. I used my cricut, sure cuts alot and a couple of free svgs I found and then added m&m's. Now that they are done, they are super cute. They however were not cute after I spent 3 hours trying to get the vinyl cut out and to the right size. It was either to big, to small, or wouldn't come off the paper.
 Here it is all packaged up. I thought it would be a little cuter, and easier having them in bags, but I wanted them in bags that they could tell what was in it so I did clear bags and added shredded yellow, and blue paper and tied it up with yellow and blue ribbon.

Next I did neckerchief slides.I made 2 sets of these. Starting left to right. An alligator made from a clothes pin, a ninja I made using a wooden peg doll (I am sure they have a name, I just do not know what they are called),behind the ninja is a dice that was cut into a square and painted white. I then drew the dots on them using a sharpie and had hubby drill a hole into the middle. Next is a car, we actually made these for our boys for pinewood derby, the idea for this one came from HERE. Batman(because our pow wow theme was super heroes) was a figure I found at the dollar stare and cut off the base. The squiggly guy made out of pipe cleaners is a fun, simple slide that I learned how to make at Philmont. Last but not least, the cub scout slide. I made the circles using photoshop then glued them to a flat rock.
Here they are all packaged up. Oh I also put in a clucking chicken you can see a better picture and tutorial HERE.

Here is a game bag I made up. I made 3 of these. When teaching round table I encourage all of the den leaders to make a game box. I also hand out a game card (with a game on either side) I only hand these out if they attend round table. Then I tell them to go home and gather any materials they would need to play those two games and add them to their game box. This way when an activity is done faster than you planned or the boys are just not focused you can pull out a game card and will have all the things to play those games.

Anyway onto what's in the bag, obviously I added a set of my game cards, a large foam dice, a small soft ball, clothes pins, sick dice (for tutorial and how to play you can go HERE), and marbles.


All tied up ready to go.
You might remember THIS post from last month, these are my citizenship bingo games I made to teach at round table last month and also to use in pack meeting. I also included the tag I made to help the boys with opening and closing flag ceremony.
I made two of my subway art prints and put them in frames.
 I made 4 clipboards. I covered them in blue and yellow and printed some cub scout things on some of them.
Here is the back of the boards.

All packaged up with a cute cub scout pen I made.  I found the idea HERE but they were for primary and I wanted to make them for cub scouts so I asked my very talented friend if she could make me a template to use in phtoshop since I have no idea how to make templates yet. If you are interested in the template visit her site HERE. Guess I will have to get a better picture of the pen.

I did 2 cheer jars. I washed and dried empty lays stax containers since they are blue and yellow then was going to create a printable to put on it when I found THIS on already made. All I did was resize it using photoshop.  Then I went hunting for all the cheers I had and printed them up and cut them into strips and put them inside.
I also made 2 bags with stuff to help learn the bobcat trail. I made this LAPBOOK for the bobcat trail  last year, we have all of our new boys make one and take home to review with their families. I put in the Law of the pack and cub scout promise puzzles( check it out HERE to see how I use them). And last I added my roll a bobcat game and a dice to play it (this is played like cootie).
All packaged up.


I had a few more ideas to do, but ran out of time and patience.  I just hope that some of these things will help other leaders.

Related Posts Plugin for WordPress, Blogger...